这篇教程是向查字典教程网介绍Flash AS3制作画框随图片的大小而动态改变方法,这是一个为图片加框的效果,画框依据图片的大小而动态改变。(单击下面可以看到效果)
演示:
1、新建一个Flash文件,宽、高设置为550*420,背景黑色。
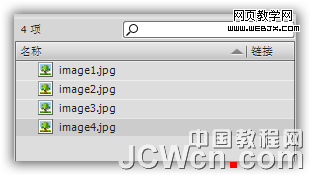
2、准备4张大小不同规格的图片,最大的宽、高不要超过530*380。
3、导入图片:在文件菜单选导入=>导入到库。如图1:
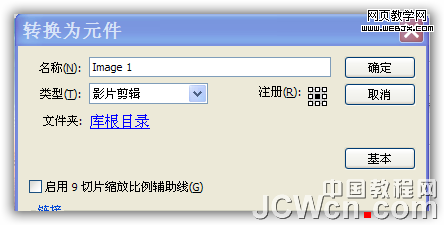
4、图层1,改名为图片。拖第一个图片到舞台将它转换成影片剪辑。命名”Image 1 ″设定注册点居中。如图2:
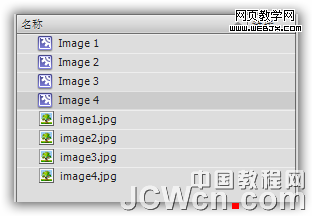
5、重复第4步,拖入其它的3张图片到舞台,任意摆放。命名”Image 2 ″,”Image 3 ″,”Image 4 ″,库面板如图3:
6、给舞台上的实例命名“image1”至“image4”。
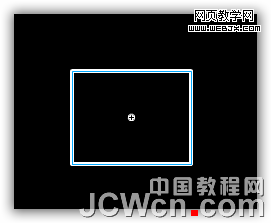
7、隐藏图层1,添加图层2。图4:

8、图层2改名为边框,用矩形工具,填充色禁止,笔触白色,高度为4像素,画一个长方形边框。
9、将长方形转换为影片剪辑,设置注册点居中。舞台实例命名为“imageBorder”。图5:
10、添加图层3,命名为as,输入代码:
复制代码代码如下://Import TweenMax (we use it for animation)
import gs.*;
//Save the center coordinates of the stage
var centerX:uint = stage.stageWidth / 2;
var centerY:uint = stage.stageHeight / 2;
//Let’s add the images to an array
var imagesArray:Array = new Array(image1,image2,image3,image4);
//This variable will store the current image displayed
var currentImage:MovieClip = null;
//Make the border invisible at first
imageBorder.alpha = 0;
//Loop through the array elements
for (var i:uint = 0; i < imagesArray.length; i++) {
//We want all the images to be invisible at the beginning
imagesArray[i].alpha = 0;
//Save the index of the image to a variable called "imageIndex"
imagesArray[i].imageIndex = i;
}
//We listen when the user clicks the mouse on the stage
stage.addEventListener(MouseEvent.CLICK, stageClicked);
//This function is called when the user clicks the stage
function stageClicked(e:MouseEvent):void {
//Check that the current image is not null
if (currentImage != null) {
//Animate the current image away
TweenMax.to(currentImage, 1, {alpha:0});
//Check to see if we are at the end of the imagesArray
if (currentImage.imageIndex == imagesArray.length - 1) {
//Set the first image of the array to be our currentImage
currentImage = imagesArray[0];
} else {
//We are not at the end of the array, so get the next image from the array
currentImage = imagesArray[currentImage.imageIndex + 1];
}
} else {
//If the currentImage is null (= we just started the movie), we set the first image in the array
//to be our current image.
currentImage = imagesArray[0];
//Set the border’s alpha to 0.5
imageBorder.alpha = 0.5;
}
//Position the current image and the border to the center of the stage
currentImage.x = imageBorder.x = centerX;
currentImage.y = imageBorder.y = centerY;
//Animate the border’s width and height according to the current image’s dimensions.
//We also a nice glow effect to the image border
TweenMax.to(imageBorder, 0.5, {width: currentImage.width + 8, height: currentImage.height + 8,
glowFilter:{color:Math.random() * 0xffffff, alpha:1, blurX:20, blurY:20, strength:100, quality:1}});
//Animate the currentImage’s alpha
TweenMax.to(currentImage, 1, {alpha:1});
}
11、全部完工,测试影片。注意:把gs类库保存在fla同一目录下。
教程结束,以上就是Flash AS3制作画框随图片的大小而动态改变教程,希望能对大家有所帮助,谢谢阅读!
【Flash AS3制作画框随图片的大小而动态改变教程】相关文章: