Android 调用WCF实例
1. 构建服务端程序
using System.ServiceModel; namespace yournamespace { [ServiceContract(Name = "HelloService", Namespace = "http://www.master.haku")] public interface IHello { [OperationContract] string SayHello(); } }
namespace YourNameSpace { public class YourService { public string SayHello(string words) { return "Hello " + words; } } }
2. 构建IIS网站宿主
YourService.svc
<%@ServiceHost Debug="true" Service="YourNameSpace.YourService"%>
Web.config
<"1.0" encoding="utf-8"?> <configuration> <system.serviceModel> <serviceHostingEnvironment> <serviceActivations > <add relativeAddress="YourService.svc" service="YourNameSpace.YourService"/> </serviceActivations > </serviceHostingEnvironment > <bindings> <basicHttpBinding> <binding name="BasicHttpBindingCfg" closeTimeout="00:01:00" openTimeout="00:01:00" receiveTimeout="00:10:00" sendTimeout="00:01:00" bypassProxyOnLocal="false" hostNameComparisonMode="StrongWildcard" maxBufferPoolSize="524288" maxReceivedMessageSize="2147483647" messageEncoding="Text" textEncoding="utf-8" useDefaultWebProxy="true" allowCookies="false"> <readerQuotas maxDepth="32" maxStringContentLength="8192" maxArrayLength="16384" maxBytesPerRead="4096" maxNameTableCharCount="16384" /> <security mode="None"> <transport clientCredentialType="None" proxyCredentialType="None" realm="" /> <message clientCredentialType="UserName" algorithmSuite="Default" /> </security> </binding> </basicHttpBinding> </bindings> <services> <service name="YourNameSpace.YourService" behaviorConfiguration="ServiceBehavior"> <host> <baseAddresses> <add baseAddress="http://localhost:59173/YourService"/> </baseAddresses> </host> <endpoint binding="basicHttpBinding" contract="YourNameSpace.你的服务契约接口"> <identity> <dns value="localhost" /> </identity> </endpoint> </service> </services> <behaviors> <serviceBehaviors> <behavior name="ServiceBehavior"> <serviceMetadata httpGetEnabled="true" /> <serviceDebug includeExceptionDetailInFaults="true" /> </behavior> </serviceBehaviors> </behaviors> </system.serviceModel> <system.web> <compilation debug="true" /> </system.web> </configuration>
3. 寄宿服务
把网站发布到web服务器, 指定网站虚拟目录指向该目录
如果你能够访问http://你的IP:端口/虚拟目录/服务.svc
那么,恭喜你,你的服务端成功了!
4. 使用ksoap2调用WCF
去ksoap2官网
http://code.google.com/p/ksoap2-android/ 下载最新jar
5. 在Eclipse中新建一个Java项目,测试你的服务
新建一个接口, 用于专门读取WCF返回的SoapObject对象
ISoapService
package junit.soap.wcf; import org.ksoap2.serialization.SoapObject; public interface ISoapService { SoapObject LoadResult(); }
HelloService
package junit.soap.wcf; import java.io.IOException; import org.ksoap2.SoapEnvelope; import org.ksoap2.serialization.SoapObject; import org.ksoap2.serialization.SoapSerializationEnvelope; import org.ksoap2.transport.HttpTransportSE; import org.xmlpull.v1.XmlPullParserException; public class HelloService implements ISoapService { private static final String NameSpace = "http://www.master.haku"; private static final String URL = "http://你的服务器/虚拟目录/你的服务.svc"; private static final String SOAP_ACTION = "http://www.master.haku/你的服务/SayHello"; private static final String MethodName = "SayHello"; private String words; public HelloService(String words) { this.words = words; } public SoapObject LoadResult() { SoapObject soapObject = new SoapObject(NameSpace, MethodName); soapObject.addProperty("words", words); SoapSerializationEnvelope envelope = new SoapSerializationEnvelope(SoapEnvelope.VER11); // 版本 envelope.bodyOut = soapObject; envelope.dotNet = true; envelope.setOutputSoapObject(soapObject); HttpTransportSE trans = new HttpTransportSE(URL); trans.debug = true; // 使用调试功能 try { trans.call(SOAP_ACTION, envelope); System.out.println("Call Successful!"); } catch (IOException e) { System.out.println("IOException"); e.printStackTrace(); } catch (XmlPullParserException e) { System.out.println("XmlPullParserException"); e.printStackTrace(); } SoapObject result = (SoapObject) envelope.bodyIn; return result; } }
测试程序
package junit.soap.wcf; import org.ksoap2.serialization.SoapObject; public class HelloWcfTest { public static void main(String[] args) { HelloService service = new HelloService("Master HaKu"); SoapObject result = service.LoadResult(); System.out.println("WCF返回的数据是:" + result.getProperty(0)); } }
经过测试成功
运行结果:
Hello Master HaKu
6. Android客户端测试
package david.android.wcf; import android.app.Activity; import android.os.Bundle; import android.view.View; import android.view.View.OnClickListener; import android.widget.Button; import android.widget.TextView; import android.widget.Toast; import org.ksoap2.serialization.SoapObject; public class AndroidWcfDemoActivity extends Activity { private Button mButton1; private TextView text; /** Called when the activity is first created. */ @Override public void onCreate(Bundle savedInstanceState) { super.onCreate(savedInstanceState); setContentView(R.layout.main); mButton1 = (Button) findViewById(R.id.myButton1); text = (TextView) this.findViewById(R.id.show); mButton1.setOnClickListener(new Button.OnClickListener() { @Override public void onClick(View v) { HelloService service = new HelloService("Master HaKu"); SoapObject result = service.LoadResult(); text.setText("WCF返回的数据是:" + result.getProperty(0)); } }); } }
7. 最后运行结果
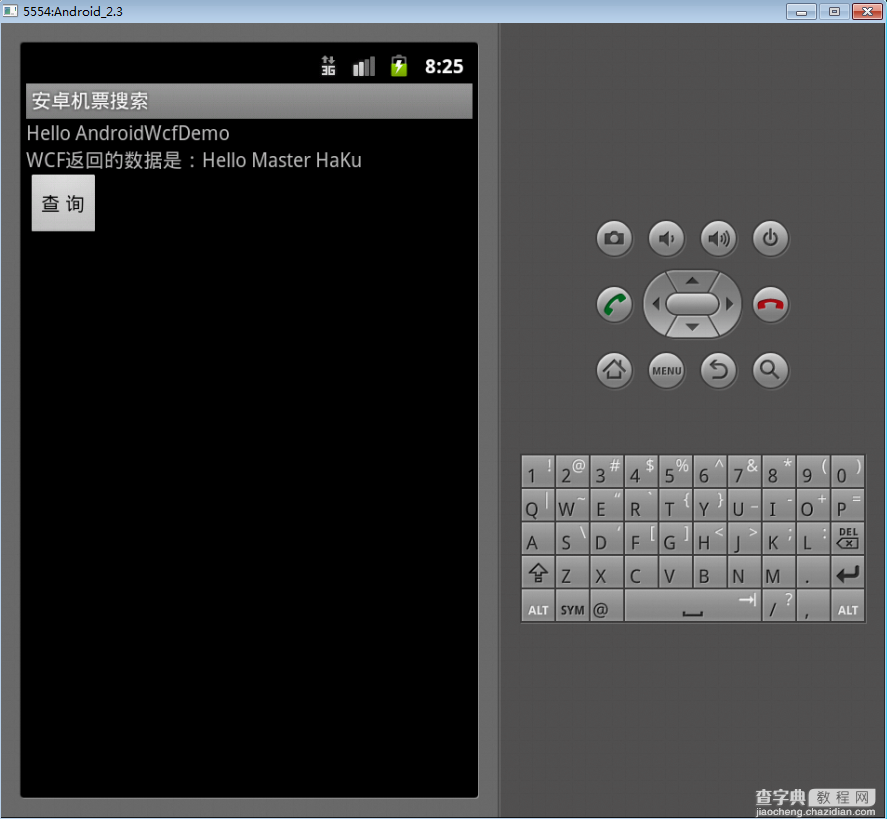
感谢阅读,希望能帮助到大家,谢谢大家对本站的支持!
【Android 调用WCF实例详解】相关文章:
★ Android之PreferenceActivity应用详解
★ Android Map新用法:MapFragment应用介绍