大家好,今天给大家分享一下Android里的Context的一些用法,以前经常有人在群里问我比如我在一个工具类里的某个方法,或者View里需要调用Context.但是工具类还有View里没有这个上下文怎么办?为了解决大家的疑问,为了解决大家的疑问,我今天写一个简单的Demo.让大家如何学好自如的用Context.想什么时候有Context,什么时候就有Context.
这里大致可以分为两种:一是传递Context参数,二是调用全局的Context.
其实我们应用启动的时候会启动Application这个类,这个类是在AndroidManifest.xml文件里其实是默认的
<application android:icon="@drawable/ic_launcher" android:label="@string/app_name" > <activity android:name="ApplicationDemoActivity" android:label="@string/app_name" > <intent-filter> <action android:name="androidintentactionMAIN" /> <category android:name="androidintentcategoryLAUNCHER" /> </intent-filter> </activity> </application>
这个Application类是单例的,也就是说我们可以自己写个Application(比如名为:MainApplication)类,来代替默认的Applicaiton,这个类可以保存应用的全局变量,我们可以定义一个全局的Context.供外部调用.用法如下:
package com.tutor.application; import androidappApplication; import androidcontentContext; public class MainApplication extends Application { /** * 全局的上下文 */ private static Context mContext; @Override public void onCreate() { superonCreate(); mContext = getApplicationContext(); } /**获取Context * @return */ public static Context getContext(){ return mContext; } @Override public void onLowMemory() { superonLowMemory(); } }
我们需要在AndroidMainifest.xml把MainApplication注册进去(第10行代码):
<"1.0" encoding="utf-8"?> <manifest xmlns:android="http://schemasandroidcom/apk/res/android" package="comtutorapplication" android:versionCode="1" android:versionName="0" > <application android:icon="@drawable/ic_launcher" android:label="@string/app_name" android:name="MainApplication" > <activity android:name="ApplicationDemoActivity" android:label="@string/app_name" > <intent-filter> <action android:name="androidintentactionMAIN" /> <category android:name="androidintentcategoryLAUNCHER" /> </intent-filter> </activity> </application> </manifest>
为了让大家更容易理解,写了一个简单的Demo.步骤如下:
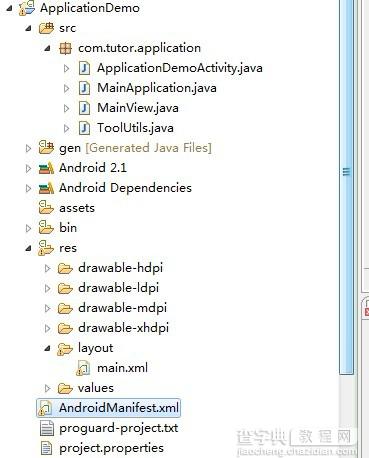
第一步:新建一个Android工程ApplicationDemo,目录结构如下:
第二步:新建MainApplication.Java,代码和上面一样我就不贴了.
第三步:新建一个工具类ToolsUtil.java,代码如下
package com.tutor.application; import androidcontentContext; import androidwidgetToast; /** * @author frankiewei * 应用的一些工具类 */ public class ToolUtils { /** * 参数带Context * @param context * @param msg */ public static void showToast(Context context,String msg){ ToastmakeText(context, msg, ToastLENGTH_SHORT)show(); } /** * 调用全局的Context * @param msg */ public static void showToast(String msg){ ToastmakeText(MainApplicationgetContext(), msg, ToastLENGTH_SHORT)show(); } }
第四步:新建一个View命名为MainView.java就是我们Activity现实的View.代码如下:
package com.tutor.application; import androidappActivity; import androidcontentContext; import androidutilAttributeSet; import androidviewLayoutInflater; import androidviewView; import androidwidgetButton; import androidwidgetFrameLayout; /** * @author frankiewei * 自定义的MainView */ public class MainView extends FrameLayout implements ViewOnClickListener{ private Context mContext; private Activity mActivity; /** * 参数Button */ private Button mArgButton; /** * 全局Button */ private Button mGlobleButton; /** * 退出Button */ private Button mExitButton; public MainView(Context context){ super(context); setupViews(); } public MainView(Context context, AttributeSet attrs) { super(context, attrs); setupViews(); } private void setupViews(){ //获取View的上下文 mContext = getContext(); //这里将Context转换为Activity mActivity = (Activity)mContext; LayoutInflater inflater = LayoutInflaterfrom(mContext); View v = inflaterinflate(Rlayoutmain, null); addView(v); mArgButton = (Button)vfindViewById(Ridarg_button); mGlobleButton = (Button)vfindViewById(Ridglo_button); mExitButton = (Button)vfindViewById(Ridexit_button); mArgButtonsetOnClickListener(this); mGlobleButtonsetOnClickListener(this); mExitButtonsetOnClickListener(this); } public void onClick(View v) { if(v == mArgButton){ ToolUtilsshowToast(mContext, "我是通过传递Context参数显示的!"); }else if(v == mGlobleButton){ ToolUtilsshowToast("我是通过全局Context显示的!"); }else{ mActivityfinish(); } } }
这里MainView.java使用的布局main.xml代码如下:
<"1.0" encoding="utf-8"?> <LinearLayout xmlns:android="http://schemasandroidcom/apk/res/android" android:layout_width="fill_parent" android:layout_height="fill_parent" android:orientation="vertical" > <TextView android:layout_width="fill_parent" android:layout_height="wrap_content" android:text="Welcome to frankie wei's blog" /> <Button android:id="@+id/arg_button" android:layout_width="fill_parent" android:layout_height="wrap_content" android:text="传递Context参数" /> <Button android:id="@+id/glo_button" android:layout_width="fill_parent" android:layout_height="wrap_content" android:text="全局的Context" /> <Button android:id="@+id/exit_button" android:layout_width="fill_parent" android:layout_height="wrap_content" android:text="退出App" /> </LinearLayout>
第五步:修改ApplicationDemoActivity.java,代码如下:
package com.tutor.application; import androidappActivity; import androidosBundle; public class ApplicationDemoActivity extends Activity { @Override public void onCreate(Bundle savedInstanceState) { superonCreate(savedInstanceState); MainView mMainView = new MainView(this); setContentView(mMainView); } }
第六步:运行上述工程效果如下:
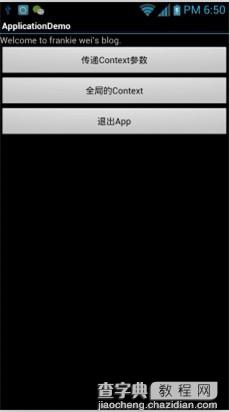
运行效果1
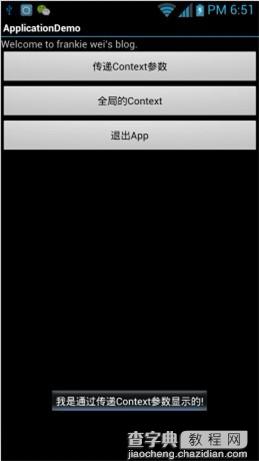
运行效果2---- 点击第一个按钮
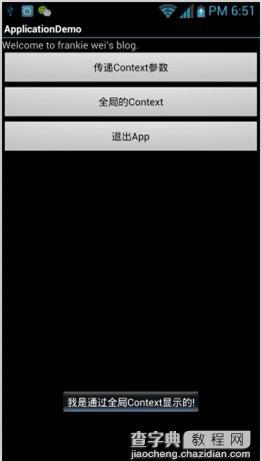
运行效果3---- 点击第二个按钮
以上就是本文的全部内容,希望对大家的学习有所帮助,也希望大家多多支持查字典教程网。
【谈谈Android里的Context的使用实例】相关文章:
★ 基于Android AppWidgetProvider的使用介绍