MM非主流艺术照片,Photoshop教你做!
摘要:原图最终效果图1、打开你要P的照片,然后双击图层,解锁。2、复制图层0。3、给图层0副本,执行滤镜--模糊--高斯模糊3.5。4、调整图层0...
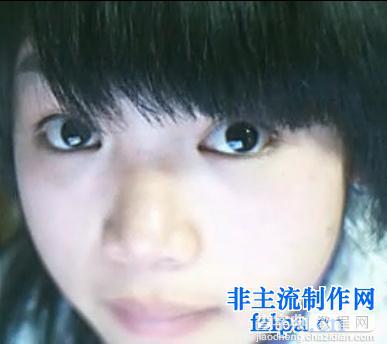
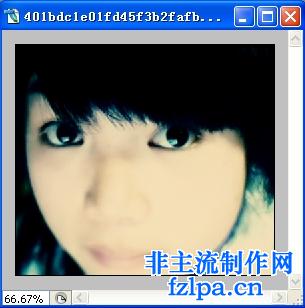
原图
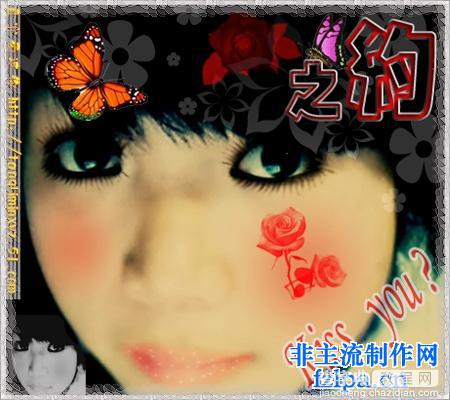
最终效果图
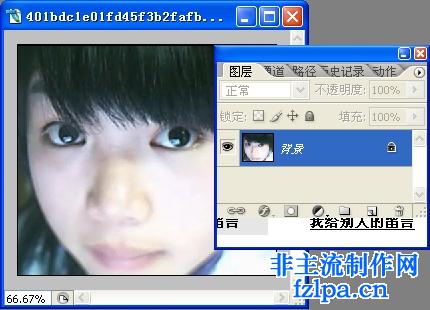
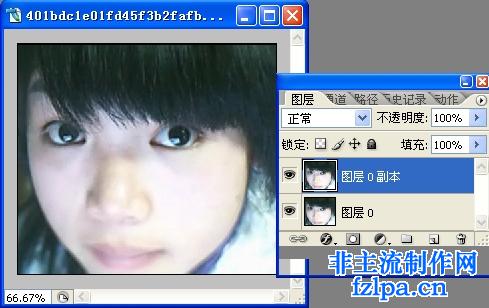
1、打开你要P的照片,然后双击图层,解锁。
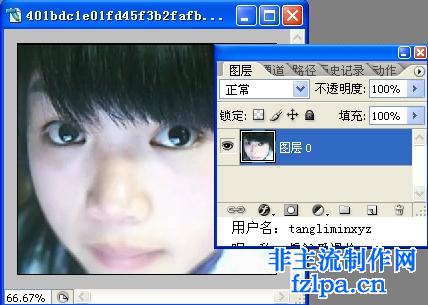
2、复制图层0。
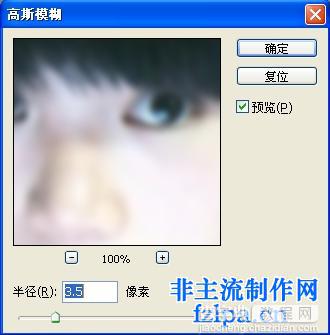
3、给图层0副本,执行滤镜--模糊--高斯模糊3.5。
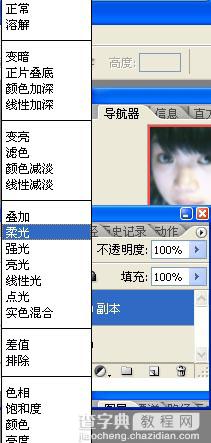
4、调整图层0副本的模式为柔光。
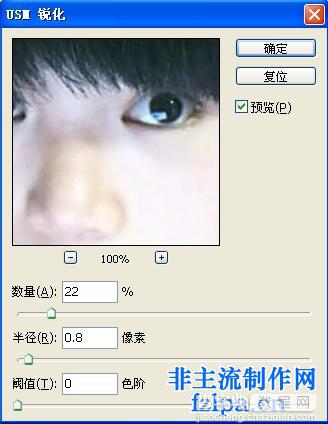
5、回到图层0,滤镜---瑞化---USM,数值:22,半径:0.8,阀值:0。
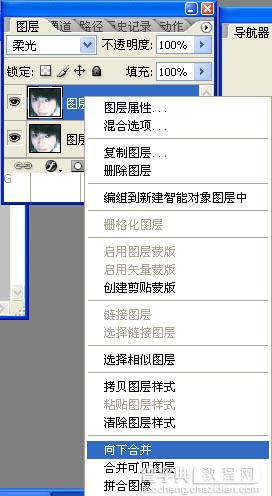
6、合并2个图层。
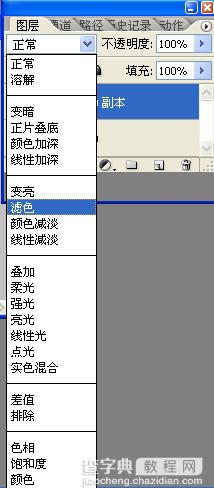
7、复制图层0,改图层模式为滤色。
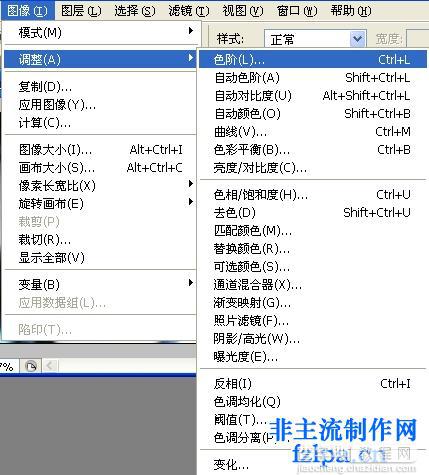
8、点击图层---调整---色阶。
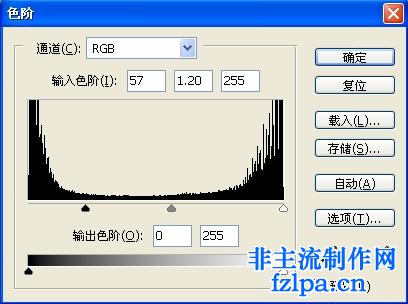
9、参数:57 1.20 255 。
10、:新建一个图层1。
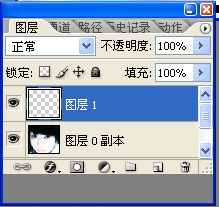
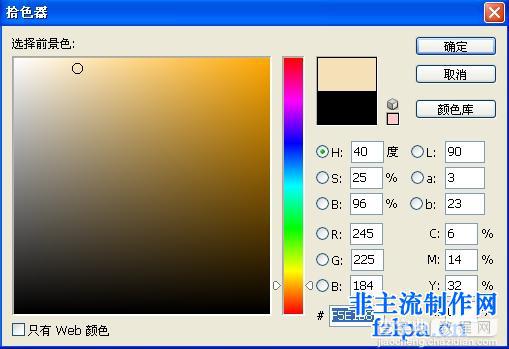
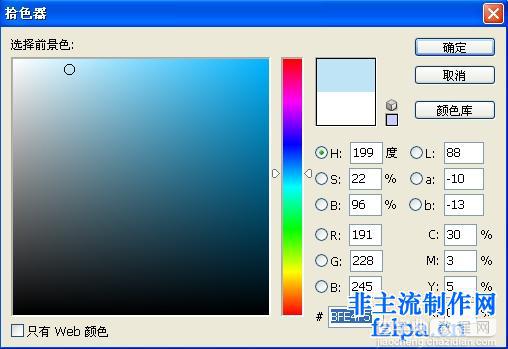
11、选择拾色器,设置颜色,然后填充F5E1B8。
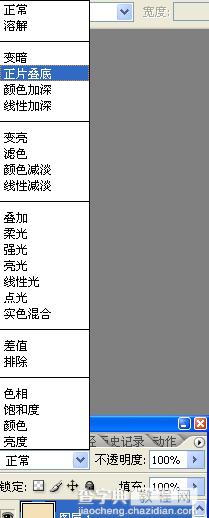
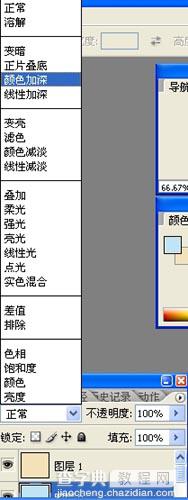
12、改图层1模式为正片叠底。
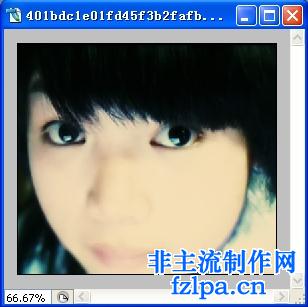
13、得到效果如下图:
14、再新建一个图层2,拖移到图层1的下面.
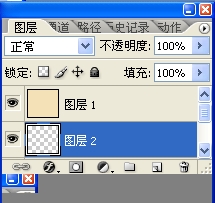
15、选择拾色器,设置颜色,填充为BFE4F5。
16、改图层2模式为颜色加深。
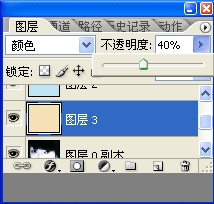
17、再新建一个图层3,拖移到图层二的下面,填充颜色和图层1一样,然后更改图层模式为颜色,将不透明度调整成40%。

18、然后得到效果图如下:
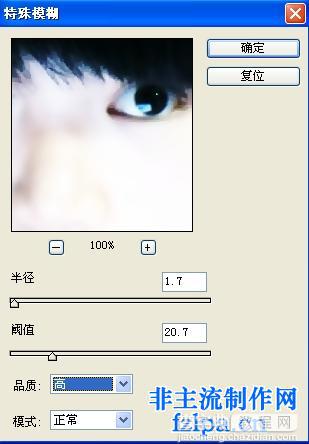
19、选择图层0,滤镜--模糊--特殊模糊,参数,半径:1.1,阀值:20.7,品质:高,模式:正常.
20、加上一些笔刷与字体上去,调一下光线OK!搞定!自我欣赏HOHO~``
【MM非主流艺术照片,Photoshop教你做!】相关文章: